
Lumolog is revolutionizing the entertainment industry by offering immersive, interactive, and personalized experiences. Its innovative approach is reshaping how audiences engage with content, creating a new era of entertainment.
What is Lumolog and How It’s Redefining Entertainment Trends
Lumolog is a cutting-edge entertainment platform that combines advanced technology with creative storytelling to deliver immersive experiences. By leveraging artificial intelligence and user data, Lumolog personalizes content, offering tailored narratives and interactive elements. This innovative approach shifts traditional entertainment from passive viewing to active engagement, enabling audiences to influence story outcomes. The platform’s ability to adapt to individual preferences is redefining entertainment trends, making it a pioneer in the industry. Lumolog’s impact extends beyond entertainment, fostering community building through shared experiences. As technology evolves, Lumolog continues to set new standards, promising a future where entertainment is not just consumed but co-created. Its transformative potential is reshaping how stories are told and experienced, marking a significant shift in the entertainment landscape.
The Growing Popularity of Lumolog in Modern Entertainment
Lumolog’s popularity is surging due to its unique blend of interactivity and personalization, captivating audiences worldwide. Its ability to adapt content based on user preferences has made it a favorite among diverse demographics. The platform’s immersive storytelling and real-time engagement features foster a sense of community, driving its viral growth. Celebrities and influencers are also embracing Lumolog, further amplifying its reach. As more users discover the thrill of shaping their own entertainment experiences, Lumolog is becoming a cultural phenomenon. Its accessibility across multiple devices and continuous updates with fresh content ensure sustained engagement. The platform’s success is evident in its rapid adoption, solidifying its position as a leader in the entertainment industry. With its innovative approach, Lumolog is poised to remain a dominant force in modern entertainment for years to come.

Key Features of Lumolog That Are Revolutionizing Entertainment
Lumolog’s groundbreaking features include AI-driven personalization, interactive storytelling, and immersive VR/AR experiences, creating a dynamic and engaging entertainment ecosystem that captivates audiences globally.
Personalized Entertainment Experiences Through Lumolog
Lumolog offers unparalleled personalization, tailoring entertainment to individual preferences. By leveraging AI, it analyzes user behavior and delivers curated content, ensuring unique experiences. This technology adaptively adjusts narratives and settings in real-time, creating immersive and engaging stories. Users can interact with characters, influence plot outcomes, and explore virtual worlds, making each session dynamic. Lumolog also integrates feedback loops, refining recommendations over time. This level of customization fosters deeper emotional connections, enhancing overall satisfaction. As a result, Lumolog is redefining entertainment by making it more intimate and relevant, setting a new benchmark for the industry.
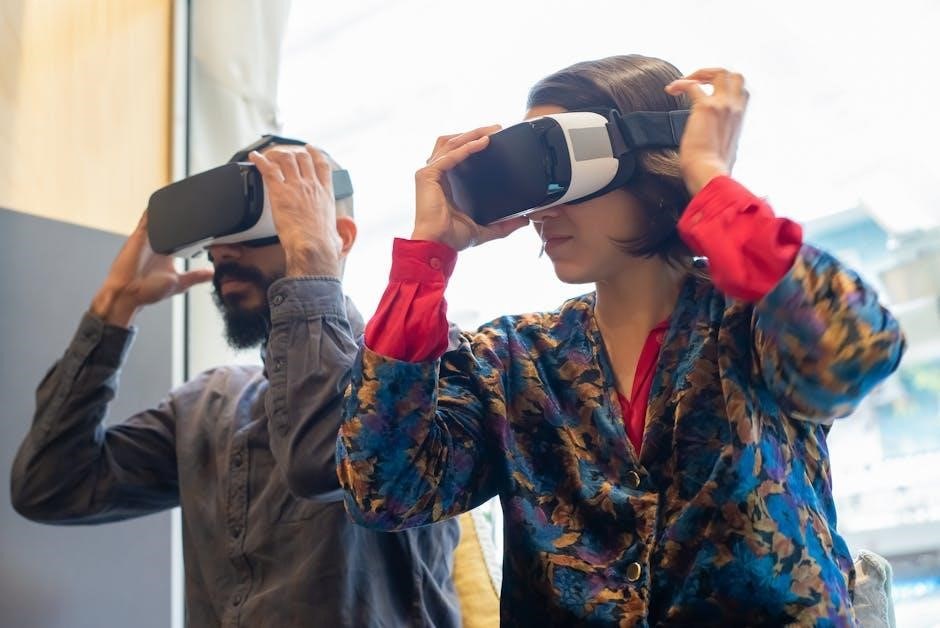
Interactive and Immersive Elements of Lumolog
Lumolog stands out for its interactive and immersive capabilities, offering users the ability to engage with content in groundbreaking ways. Through advanced technologies like motion sensors, voice recognition, and haptic feedback, Lumolog creates a multi-sensory experience. Users can influence narratives, interact with virtual characters, and explore dynamic environments in real-time. The platform also incorporates augmented reality (AR) and virtual reality (VR) elements, blurring the line between the physical and digital worlds. Additionally, Lumolog leverages biometric data to tailor interactions, ensuring a deeply personal connection. These features not only enhance entertainment but also redefine how stories are told and experienced. By combining interactivity with immersion, Lumolog is setting new standards for engagement in the entertainment industry.

Current Trends in Lumolog Entertainment
Lumolog is driving innovation with immersive AR/VR experiences, personalized content curation, and interactive storytelling. Its integration of AI for real-time adaptations is reshaping entertainment, offering dynamic and engaging experiences.
The Rise of Virtual Reality (VR) in Lumolog Experiences
Virtual Reality (VR) is becoming a cornerstone of Lumolog entertainment, offering immersive and interactive experiences that redefine storytelling. By leveraging advanced VR technology, Lumolog creates 360-degree environments where users can engage with content in unprecedented ways. From virtual concerts to interactive movies, VR within Lumolog allows audiences to step into the narrative, blurring the line between observer and participant. This trend is particularly popular in gaming and cinematic experiences, where VR enhances emotional engagement and realism. With Lumolog, VR is no longer just a novelty but a transformative tool that reshapes entertainment consumption. As VR hardware becomes more accessible, Lumolog is poised to lead the industry into a future where immersive experiences are the norm.
Augmented Reality (AR) and Its Role in Lumolog Trends
Augmented Reality (AR) is playing a pivotal role in shaping Lumolog’s entertainment trends by blending the digital and physical worlds seamlessly. AR enhances real-world environments with overlaid digital content, creating interactive and engaging experiences for users. Lumolog leverages AR to deliver immersive storytelling, such as interactive filters, real-time 3D overlays, and location-based experiences. This technology is particularly popular in gaming, where AR transforms everyday spaces into dynamic play areas. Additionally, AR in Lumolog is being used to enhance fan engagement, offering virtual meet-and-greets with celebrities or exclusive behind-the-scenes content. The accessibility of AR through smartphones has made it a cornerstone of Lumolog’s entertainment offerings, ensuring widespread adoption. As AR technology advances, its integration with Lumolog is expected to redefine entertainment further, promising even more innovative and accessible experiences for audiences worldwide.

How Lumolog is Changing the Future of Entertainment
Lumolog is transforming entertainment by creating immersive, interactive, and dynamic experiences. It blends the physical and digital worlds, setting new standards for engagement and accessibility in the industry.
Predictions for the Next Generation of Lumolog Entertainment
Lumolog is expected to redefine entertainment further by integrating advanced technologies like augmented reality (AR) and artificial intelligence (AI). Future iterations may focus on hyper-personalized experiences, allowing users to customize every aspect of their entertainment journey. Interactive storytelling and immersive worlds could become the norm, blurring the lines between audience and participant. Additionally, Lumolog may expand into new formats, such as hybrid physical-digital events, creating unparalleled engagement opportunities. Sustainability could also play a role, with eco-friendly practices embedded into Lumolog’s core design. As these innovations unfold, Lumolog is poised to become the benchmark for futuristic entertainment, setting new standards for creativity, interactivity, and accessibility. The next generation of Lumolog entertainment promises to be even more transformative, reshaping how we experience and interact with content.
The Integration of Artificial Intelligence (AI) in Lumolog
The integration of artificial intelligence (AI) into Lumolog is transforming the entertainment landscape by enabling smarter, more dynamic experiences. AI algorithms analyze user preferences to deliver personalized recommendations, ensuring content aligns with individual tastes. Interactive storytelling is enhanced through AI-driven characters that adapt to user decisions, creating unique narratives. Additionally, AI powers real-time language translation, making Lumolog accessible to global audiences. The technology also optimizes content delivery, ensuring seamless performance across devices. AI-generated content, such as music and visuals, further enriches Lumolog’s offerings. Predictive analytics help creators anticipate trends, fostering innovation. With AI at its core, Lumolog is redefining entertainment by blending creativity with cutting-edge technology, offering users unparalleled engagement and convenience. This fusion of AI and entertainment is setting new standards for the industry, making Lumolog a pioneer in the digital age.