The Mitsubishi Eclipse manual is a comprehensive guide designed to help owners understand and maintain their vehicle effectively. It covers operation, maintenance, and troubleshooting procedures, ensuring optimal performance and longevity of the car.
Overview of the Mitsubishi Eclipse Manual
The Mitsubishi Eclipse manual provides a detailed guide for understanding and maintaining the vehicle. It includes essential information on operation, maintenance, and troubleshooting. Available in various formats, the manual covers owner’s guides, service procedures, and repair instructions, serving as a valuable resource for both owners and technicians to ensure optimal vehicle performance.
Importance of the Manual for Vehicle Maintenance
The Mitsubishi Eclipse manual is crucial for proper vehicle maintenance, providing guidelines for routine services, warranty compliance, and diagnostic procedures. It ensures owners can perform necessary checks and repairs, preventing potential issues and extending the vehicle’s lifespan while maintaining its performance and reliability over time.
Different Types of Manuals Available (Owner’s Manual, Service Manual, Repair Manual)
The Mitsubishi Eclipse manual comes in three main types: the Owner’s Manual for everyday use and basic maintenance, the Service Manual with detailed repair procedures, and the Repair Manual focused on diagnosing and fixing specific issues, ensuring comprehensive coverage for all maintenance and repair needs.
Maintenance Schedule and Servicing
Regular servicing is crucial for the Mitsubishi Eclipse, with recommended intervals outlined in the manual to ensure optimal performance, longevity, and adherence to warranty requirements.
Routine Maintenance Services
Routine maintenance services for the Mitsubishi Eclipse include oil changes, tire rotations, brake inspections, and battery checks. These services ensure optimal performance, prevent wear and tear, and maintain the vehicle’s reliability and safety over time. Regular servicing also helps preserve the car’s warranty and resale value.
Warranty and Service Intervals
The Mitsubishi Eclipse comes with a comprehensive warranty covering parts and labor for a specified period. Regular servicing at recommended intervals ensures warranty validity and maintains the vehicle’s condition. Adhering to the schedule helps prevent issues and keeps the car performing optimally throughout its lifespan.
How to Reset the Maintenance Light
To reset the maintenance light on your Mitsubishi Eclipse, follow these steps: Turn the ignition to the “ON” position, navigate to the instrument cluster menu, select “Maintenance Reset,” and confirm the reset. This procedure ensures your vehicle’s maintenance system is accurately tracked.

Troubleshooting Common Issues
Troubleshooting common issues in your Mitsubishi Eclipse involves identifying symptoms, checking error codes, and consulting the manual for repair procedures. This section helps you diagnose and resolve problems efficiently.
Common Dashboard Warning Lights and Their Meanings
Understanding dashboard warning lights is crucial for safe driving. Common symbols include the check engine light, oil pressure warning, and battery alert. Each light indicates specific issues, such as engine problems or system malfunctions, requiring immediate attention to prevent damage. Always consult the manual for detailed explanations and guidance.
Diagnosing Electrical System Problems
Diagnosing electrical issues in the Mitsubishi Eclipse involves identifying symptoms like flickering lights or dead batteries. Use a multimeter to check voltage and resistance, and scan tools to read error codes. Consult the manual for specific procedures and guidelines to isolate and repair faults effectively.
How to Use Diagnostic Tools
Using diagnostic tools for the Mitsubishi Eclipse involves connecting an OBD-II scanner to the vehicle’s port. The manual provides step-by-step instructions for reading error codes, interpreting data, and performing system tests. This helps in identifying issues efficiently and ensuring accurate repairs.
Technical Specifications of the Mitsubishi Eclipse
The Mitsubishi Eclipse features a range of specifications, including engine types, transmission options, and dimensions, ensuring optimal performance, fuel efficiency, and reliability for a superior driving experience.
Engine and Transmission Details
The Mitsubishi Eclipse offers various engine options, including a 2.0L turbocharged unit, delivering robust performance and efficiency. Available transmissions include smooth-shifting automatics and precise manuals, ensuring drivers can choose their preferred driving experience for optimal control and satisfaction on the road.
Dimensions and Weight Specifications
The Mitsubishi Eclipse features a compact design with precise measurements, ensuring agility and stability. Its length, width, and height are optimized for aerodynamics, while the wheelbase supports a smooth ride. The curb weight varies by model, with front-wheel and all-wheel-drive options available to suit different driving preferences and conditions effectively.
Fuel Efficiency and Performance Metrics
The Mitsubishi Eclipse offers impressive fuel efficiency, with an estimated 26 MPG city and 29 MPG highway for FWD models. The 2.0L engine delivers 152 horsepower and 156 lb-ft of torque, blending performance with economy. Actual mileage may vary based on driving conditions and habits, ensuring a balanced driving experience.
Electrical System and Wiring Diagrams
The Mitsubishi Eclipse manual provides detailed wiring diagrams and electrical system overviews. It includes circuit descriptions, connector locations, and troubleshooting guides for diagnosing electrical issues.
Understanding the Electrical System
The Mitsubishi Eclipse manual explains the electrical system, including battery, alternator, and wiring. It provides diagrams for identifying circuits and connectors, essential for diagnosing and repairing electrical faults efficiently.
How to Read Wiring Diagrams
Wiring diagrams in the Mitsubishi Eclipse manual use symbols and color codes to represent components and connections. Understanding these diagrams helps identify circuits, diagnose faults, and perform repairs. Each symbol corresponds to specific parts, ensuring accurate troubleshooting and electrical system maintenance.
Battery and Charging System Maintenance
Regular inspection of the battery terminals and cables ensures proper electrical connections. Check fluid levels and charge the battery as needed. The manual provides detailed procedures for testing and charging the battery, as well as troubleshooting common issues in the charging system to maintain reliable vehicle operation.

Do-It-Yourself Repairs and Modifications
Empower yourself with DIY repairs and modifications for your Mitsubishi Eclipse. From basic fixes to performance upgrades, the manual provides detailed guidance, enabling owners to maintain and enhance their vehicle confidently.
Basic DIY Repairs Every Owner Should Know
Learn essential DIY repairs for your Mitsubishi Eclipse, such as oil changes, tire pressure checks, and air filter replacements. These simple tasks can enhance performance, improve fuel efficiency, and prevent costly repairs. Regular maintenance ensures longevity and keeps your vehicle running smoothly;
Common Modifications for Performance and Aesthetics
Enhance your Mitsubishi Eclipse with performance upgrades like engine tuning, exhaust systems, and suspension modifications. For aesthetics, consider body kits, alloy wheels, and interior upgrades. These modifications can improve both the look and feel of your vehicle while maintaining its reliability and warranty compliance with genuine Mitsubishi parts.
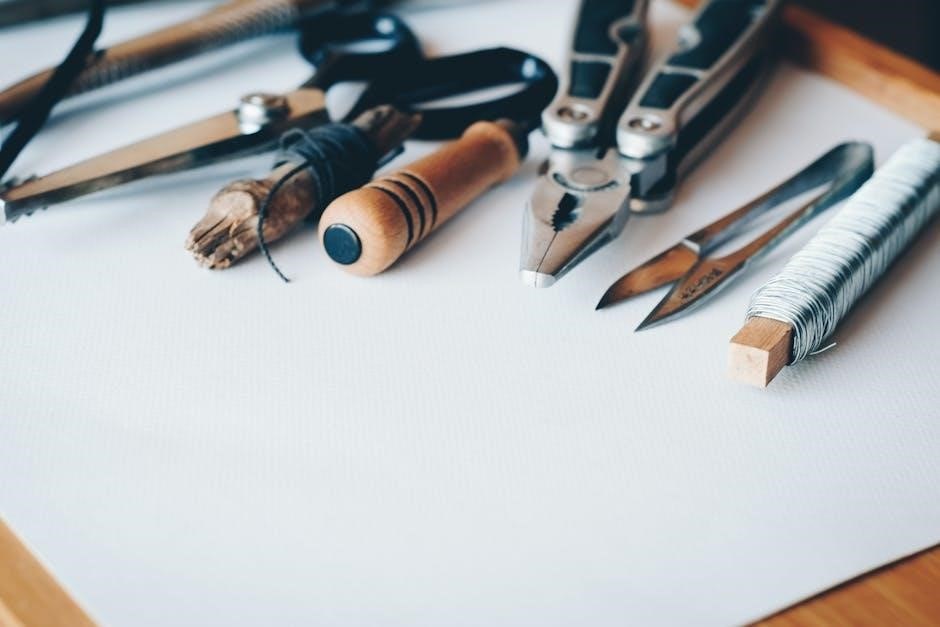
Tools and Equipment Required for DIY Projects
For DIY repairs, essential tools include a socket set, screwdrivers, pliers, and wrenches. Specialized tools like an OBD-II scanner, torque wrench, and multimeter are also useful. A hydraulic jack, jack stands, and work lights can ensure safety and visibility. Always refer to the repair manual for specific requirements and guidelines.
Model-Specific Guides
Model-specific guides provide detailed insights into unique features, maintenance needs, and customizations for different Mitsubishi Eclipse models, ensuring tailored support for optimal performance and personalized enhancements.
Differences Between Mitsubishi Eclipse and Eclipse Cross
The Mitsubishi Eclipse is a sports coupe focused on performance, while the Eclipse Cross is a crossover SUV designed for practicality and versatility. Both models share the Eclipse name but cater to different driving needs and preferences, with distinct design and functionality features.
Model Year Variations and Updates
The Mitsubishi Eclipse has undergone significant updates across model years, with improvements in engine performance, interior features, and safety technologies. From earlier sports-focused designs to modern crossover iterations, each model year reflects advancements in automotive engineering and consumer preferences, ensuring the Eclipse remains competitive and relevant in its class.
Special Considerations for Turbo and AWD Models
Turbo and AWD models require specific maintenance attention, such as cooling system checks and drivetrain inspections. Regular servicing ensures optimal performance and longevity, particularly for turbocharged engines and all-wheel-drive systems, which operate under higher stress compared to standard models.
Safety Features and Precautions
The Mitsubishi Eclipse manual provides detailed safety guidelines, emphasizing regular inspections of airbags, ABS, and stability control systems. It also outlines precautions for safe driving and repair procedures to ensure owner and vehicle protection.
Active and Passive Safety Features
The Mitsubishi Eclipse manual highlights advanced safety features, including active systems like stability control, traction control, and anti-lock braking. Passive features include airbags, seatbelts, and a reinforced body structure, all designed to protect occupants in various collision scenarios, ensuring maximum safety and minimizing potential risks during vehicle operation and emergencies.
Precautions When Working on the Vehicle
When servicing your Mitsubishi Eclipse, always disconnect the battery to prevent electrical shocks. Wear protective gear and ensure the vehicle is securely supported with jack stands. Avoid damaging sensitive components and follow proper procedures for systems like airbags. Consult the manual before starting any work to ensure safety and compliance with guidelines.
Emergency Procedures
In case of an accident or system malfunction, secure the vehicle, engage hazard lights, and evacuate safely. Follow proper procedures for fire extinguisher use and first aid. Contact emergency services if needed. Refer to the manual for specific guidelines on handling emergencies and ensuring passenger safety effectively.
Downloadable Resources and PDF Manuals
Access official Mitsubishi Eclipse manuals, service guides, and repair documents online. Download free PDF resources covering maintenance, troubleshooting, and technical specifications for various model years and configurations.
Where to Find Free PDF Manuals Online
Visit official Mitsubishi websites or trusted forums for free PDF manuals. Platforms like ManualsLib and ManualsOnline offer downloadable resources. Ensure sources are reliable to avoid counterfeit documents. Some sites may require registration for access to specific model year manuals.
How to Download and Use Digital Manuals
Locate the manual via trusted sources like ManualsLib or Mitsubishi’s official website. Download the PDF, ensuring it matches your Eclipse model year. Save it to your device for easy access. Use Adobe Acrobat or similar readers to view and navigate via bookmarks or search functions. Ensure the manual is complete, including all sections and appendices. Refer to the table of contents for quick access to specific topics. Always verify the manual corresponds to your vehicle’s specifications to avoid confusion.
Recommended Tools for Viewing and Managing PDF Manuals
Use Adobe Acrobat Reader or Foxit Reader for viewing PDF manuals. SumatraPDF and Chrome offer lightweight alternatives. PDF-XChange Editor allows annotations and bookmarks. Ensure your device has updated software for optimal performance and easy navigation of the manual.

Comparison with Other Mitsubishi Models
The Mitsubishi Eclipse stands out for its sporty design and turbocharged engine options, distinguishing it from models like the Outlander and Lancer, which prioritize practicality and family-oriented features.
Key Differences Between Eclipse and Other Mitsubishi Models
The Eclipse distinguishes itself with its sporty, aerodynamic design and turbocharged engine options, contrasting with models like the Outlander, which focuses on practicality, and the Lancer, known for its affordability and simplicity in design and performance capabilities.
Unique Features of the Eclipse
The Eclipse features a sporty, aerodynamic design, a powerful turbocharged engine, and advanced safety technologies. Its unique styling, combined with options like all-wheel drive and an intuitive infotainment system, sets it apart from other Mitsubishi models, blending performance with modern convenience and sleek aesthetics.
How the Eclipse Fits into Mitsubishi’s Vehicle Lineup
The Mitsubishi Eclipse is positioned as a stylish, performance-oriented crossover, bridging the gap between compact SUVs and sports coupes. It complements the Outlander Sport and Eclipse Cross, offering a unique blend of agility, technology, and design, appealing to drivers seeking a dynamic yet practical vehicle within Mitsubishi’s diverse lineup.
Accessories and Customization Options
The Mitsubishi Eclipse offers a range of accessories, including roof racks, alloy wheels, and interior trim upgrades. Customization options like spoilers and body kits enhance both functionality and aesthetics, allowing owners to tailor their vehicle to personal preferences while maintaining performance and style.
Popular Accessories for the Mitsubishi Eclipse
Popular accessories for the Mitsubishi Eclipse include alloy wheels, roof racks, and premium interior trim. These enhancements improve functionality and aesthetics, allowing owners to customize their vehicle while maintaining its performance and style, ensuring a personalized driving experience that aligns with their preferences and needs.
Customization Ideas to Enhance Functionality and Aesthetics
Customization ideas for the Mitsubishi Eclipse include upgrading to performance exhaust systems, installing aerodynamic body kits, and enhancing interior comfort with premium seat covers. These modifications not only improve the car’s visual appeal but also boost its performance, making it a unique and high-functioning vehicle tailored to individual preferences and driving needs.
Where to Purchase Genuine Mitsubishi Parts and Accessories
Genuine Mitsubishi parts and accessories for the Eclipse can be purchased directly from authorized Mitsubishi dealerships or through the Mitsubishi Motors official online store. Additionally, trusted online retailers and certified service centers offer authentic components, ensuring quality and compatibility for your vehicle’s maintenance and upgrades.